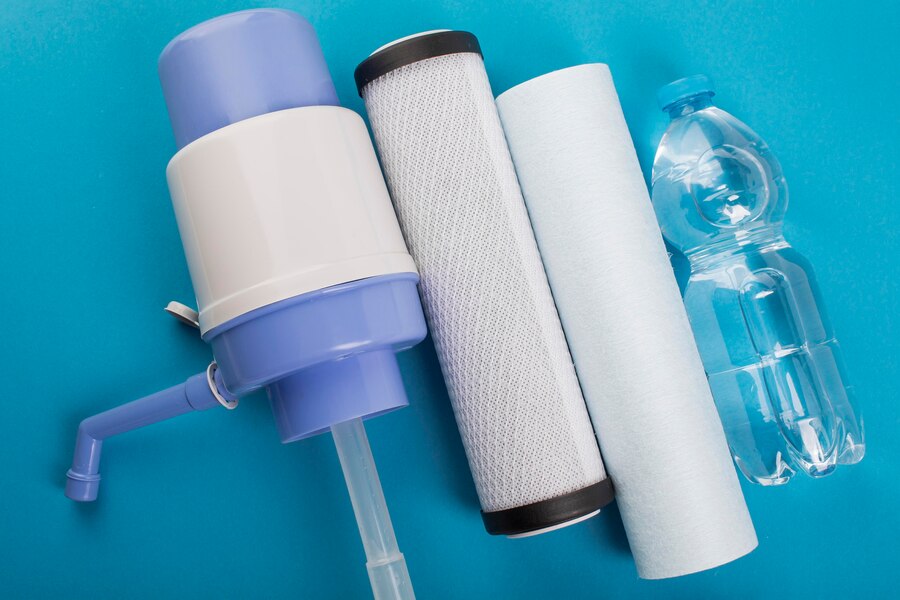
Zero Water Filter Replacement How To

Maintaining the purity and taste of your drinking water is crucial in a professional setting, whether you’re running an office or a hospitality business. Zero Water filters offer a state-of-the-art solution for reducing contaminants, but even the best filters need to be replaced regularly to keep up performance. This guide provides a step-by-step approach to replacing your Zero Water filter, ensuring that you continue to offer the highest standard of water quality to your clients and colleagues.
Step 1: Identifying When to Replace Your Filter:
- Zero Water filters have a relatively straightforward indicator for when a replacement is due: the TDS (Total Dissolved Solids) meter. When the TDS meter, included with most Zero Water units, reads 006 or higher, it’s time to switch out the filter. Keep regular checks to ensure your filter is performing optimally.
Step 2: Purchasing the Correct Filter:
- When purchasing a replacement, make sure you buy the correct model designed for your specific Zero Water unit. This information is often found in the user manual or can easily be sourced from Zero Water’s customer service or website.
Read More : Zero Water Tester How To Use
Step 3: Preparing for Replacement:
Before you start the replacement process, ensure that you have all necessary tools at hand:
· A new Zero Water filter
· The TDS meter
· A sink or waste bin to dispose of any water
Step 4: Removing the Old Filter:
To remove the old filter, follow these steps:
1. Turn off the machine and unplug any electrical connections.
2. Open the top of the Zero Water unit to access the filter.
3. Depending on the model, there may be a release button or twist cap. Press or twist to release the filter.
4. Pull out the filter carefully, making sure no excess water spills.
Step 5: Preparing the New Filter:
New Zero Water filters often need to be soaked or rinsed before installation. This is to remove any loose charcoal particles from their surface.
1. Remove the filter from its packaging and take off any protective caps or seals.
2. Place the filter under cold running water for a few minutes. Some models may require soaking in a bowl of water.
3. Check the instructions on the packaging to ensure you’re following the specific preparation steps for your filter.
Step 6: Installing the New Filter:
With the new filter prepared, it’s time to install it:
1. Insert the filter into the designated compartment in the Zero Water unit.
2. If there was a release button or twist cap, secure the new filter in place by the reverse process used to remove the old one.
Read More : Zizek How To Read Lacan
Step 7: Activating the Filter:
Once the filter is safely in place, it’s important to flush it through:
1. Fill the reservoir with water and allow it to pass through the filter.
2. Use the first two pitchers or dispenser’s worth of water for plants or cleaning, not for drinking.

Step 8: Testing TDS Levels:
Use the included TDS meter to test your newly filtered water:
1. Turn on the meter and immerse it in your water.
2. Check the reading to ensure it’s at zero, which confirms your filter is working correctly.
Conclusion Zero Water Filter Replacement How To
- Regular filter changes are essential for maintaining the performance of your Zero Water system and the quality of your drinking water. By following these simple steps, you can guarantee your clients and staff have access to clean, safe drinking water, reflecting the professionalism of your operations.